Free hosting with Fly.io
Hosting various projects with fly.io

Hosting on cloud platforms can sometimes be expensive, particularly for beginner tech enthusiasts who are just beginning their journey. Although GitHub Pages offers a viable option for hosting static websites, it comes with certain constraints, such as the inability to execute server-side code or support databases.
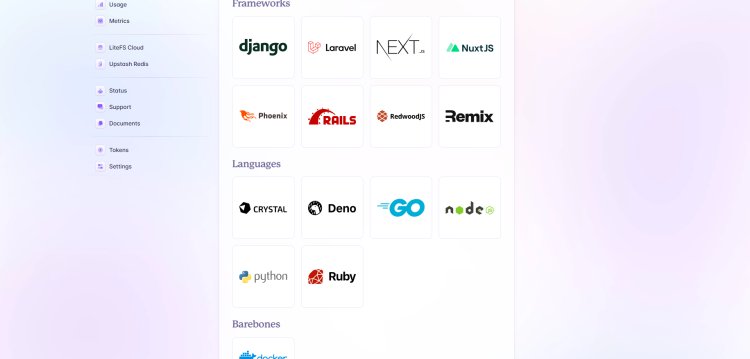
Recently, I discovered Fly.io, which stands out due to its versatility. It supports a wide array of popular frameworks and can also handle barebones Docker images, making it a robust option for more dynamic project needs beyond static site hosting.
Install Fly on ubuntu server
Use the following command to install fly.
curl -L https://fly.io/install.sh | shManually add the directory to your $HOME/.bash_profile
export FLYCTL_INSTALL="/home/dut/.fly"
export PATH="$FLYCTL_INSTALL/bin:$PATH"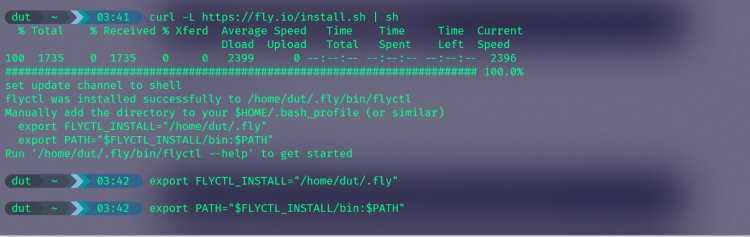
Next step is to sign up or log in, If you haven't signed up from fly.io website, you can use the command:
fly auth signupSince we signed up from the website, let's just log in
fly auth loginYou will be shown a url to access on your browser in order to log in
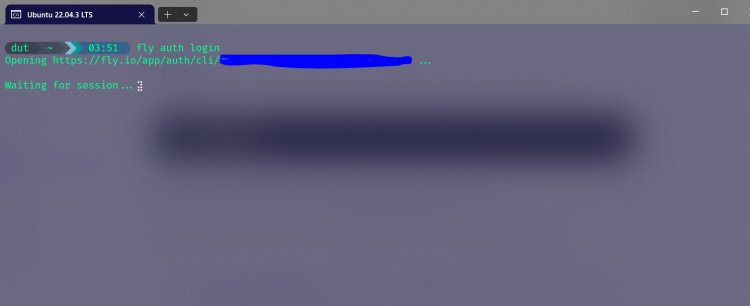
When you access the url, you'll be guided on how to log in to your fly account
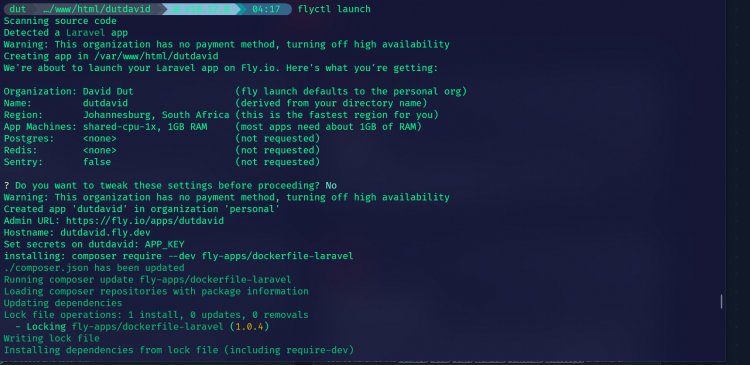
Go to your project root folder and type :
flyctl launchOnce you run the command, fly will detect the files in your root directory and start installing the required files.
After everything is set, fly will generate a url for your project urls shown
When you access the url, you'll be able to see your newly deployed site.
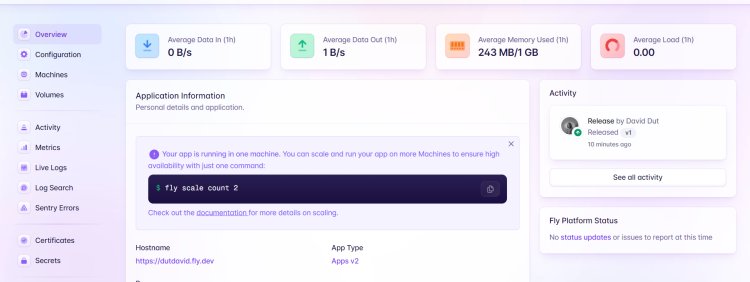
On project overview from the fly website, you will be able to see the resources your project is using
It's pretty easy and straight forward to host simple projects.
Hosting projects with MySQL projects
Fly.io offers managed databases like PostgreSQL, but if you specifically need MySQL, you might consider running a Docker container with MySQL or using an external managed MySQL service. Here’s how to set up a managed PostgreSQL on Fly:
Run flyctl postgres create to create a new PostgreSQL cluster.
Connect it to your app by running flyctl postgres attach --postgres-app YOUR_PG_APP_NAME --app YOUR_FLY_APP_NAME.
If sticking with MySQL, ensure you have your connection details set in your Laravel .env file or through Fly secrets using flyctl secrets set.
Another way to go about it is by using set up a seperate mysql container.
For test purposes, I am going to use the default composer create laravel command to spin up a test project and use laravel breeze for a simple crud database.
sudo composer create-project laravel/laravel dutdavid
cd dutdavid
sudo composer require laravel/breeze --dev
php artisan breeze:install blade --pest
nvm use stable
I opted to use the stable version of nvm, you can use the version you have. Now that breeze is installed open your .env file and setup your DB connection.
Once done do the db migration
php artisan migrateThis will migrate your database. Next, run the following command
npm install && npm run devAt the top right corner of the screen, you should be able to see login/register. Again this is just for test purpose.
What's Your Reaction?